diy: 50s sundress tutorial - pt 2
As promised, part two of the 50s sundress tutorial! I’m going to preface this by saying that I did not photograph each step blow-by-blow (however I did write about each step). This was simply because what I wanted to focus most on with this tutorial was drafting and the shoulder/neckline finish. I would recommend that you have a good sewing manual on hand, or feel free to ask me questions. If you’ve sewn a dress before, you should be fairly familiar with the order of construction and ways things come together and shouldn’t have a problem!
I would also highly recommend you read Grace's comment on the drafting post about reducing the curve of the armhole if you're using a pattern that originally had a sleeve. Between forgetting to do this with my dress, and a run in with the serger (gulp), that is why mine had to have darts from the armhole. Which in the end was totally find, and added some fit--plus it's a detail I've seen on 50s dresses before (and I've been itching to try to add some extra bust "oomph" to a dress!). But be sure to check the fit before cutting your fashion fabric. Whether you just use the pattern pieces to tissue fit or make a muslin--don't forget to double check! Remember: measure twice, cut once. Update: Grace posted an excellent photograph and description of what her comment describes here.
Let’s talk about fabric before we jump in, shall we? This sort of dress is very well suited to medium weight fabrics: linen or cotton are my first choice. Be careful with quilting cottons, however, as they tend to get extremely bulky when gathered. As I mention in the supplies list, yardage requirements will vary based on your size. A way to figure out approximately how much you’d need is to do a bit of what I like to call “sewing sleuthing”. Check out one of the big pattern companies sites and find a dress in a similar style (full skirt and fitted bodice), and see what their yardage requirements are for your size. This will give you a ballpark estimate as to how much you’ll need.
Dress Pattern: instructions for drafting your own in part one.
Fabric: it will vary based on your design and size preferences, but about 3-4 yards (45" wide) should do for a very full-skirted dress.
Double Bias Binding: 3-4 yards; either pre-made or you can make this yourself.
22” zipper: to match your fabric.
Thread, scissors, sewing machine, regular and zipper foot, pins, iron. (Usual sewing equipment!)
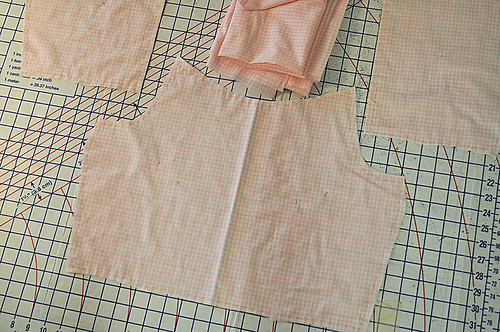
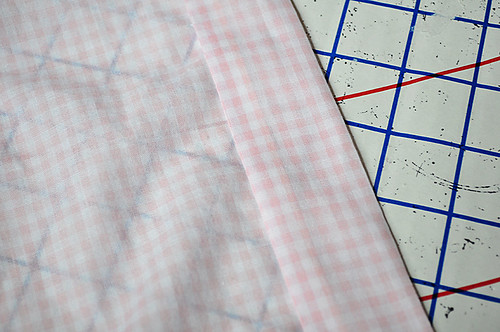
Lay out the pattern pieces on your fabric. I’m using a medium weight cotton. Cut out the bodice pieces; one front on the fold, two back pieces and four pocket pieces. Transfer all dart markings. I want to note here that I underlined my bodice pieces. What is underlining? Read about it here. For my fabric, I chose to do this to add a bit more body to the gingham and also reduce the sheerness.
Measure and mark your fabric for the skirt pieces. I just used tailor’s chalk to mark everything on a double layer of fabric and pinned along the lines so the fabric wouldn’t shift. Cut out. It’s a good idea to pin little notes to the top edges or sides of your skirt pieces—especially since these are all rectangles!
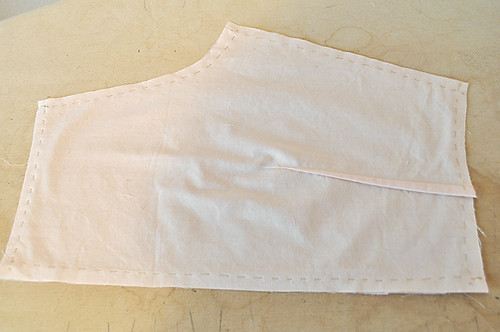
Sew the bodice darts on the front and back pieces. On the bodice I sewed the waistline darts first, and pressed towards the center front. Then the bust dart (side darts—you may not have this on your pattern) and pressed those downward. (Now, there are two schools of thought about this: generally pressing down is the classic way to treat a side dart. But occasionally I’ll see instructions for pressing the dart upward to reduce bulk over the bust area. Use your discretion.) For the back waistline darts, they are pressed towards the center.
With right sides together, pin together and sew front side seam to back side seam. Repeat on other side seam. Press open and finish raw edges. (I used my serger, but see my post about seam finishes for other options.) Set aside the bodice for now.
On the skirt, apply side seam pockets. Tutorial here. Sew together the skirt side seams only (do not sew up the back opening). Press and finish.
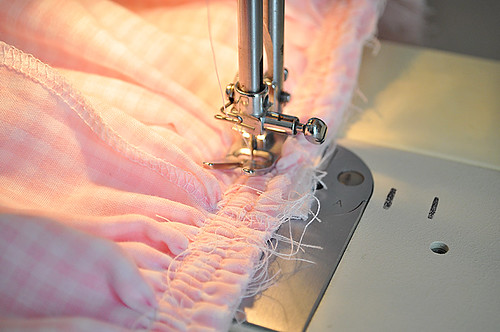
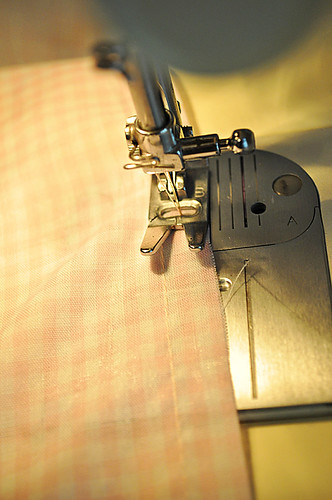
Gather the waistline edge of the skirt using two rows of basting stitches, or a gathering foot. On the back begin the gathering lines 3/4" from the cut edge. I find it easiest to sew from the back edges to the side seam, and the from the front side seam to side seam. (Alternatively you could use a gathering foot on your machine.) Pull to fit the bodice waistline, matching side seams and back edges; distribute the gathers evenly. Pin skirt to bodice right sides together. Baste the skirt to the bodice waistline; stitch carefully over the gathers.
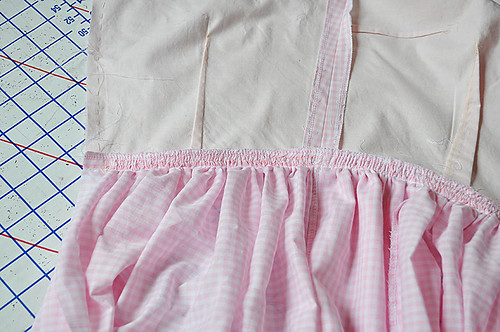
Check for puckers and stitch with a regular (2.5mm) stitch. Finish seam and press towards bodice.

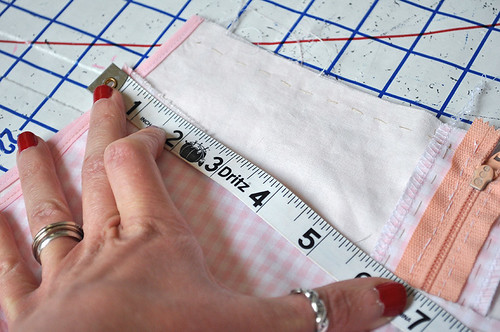
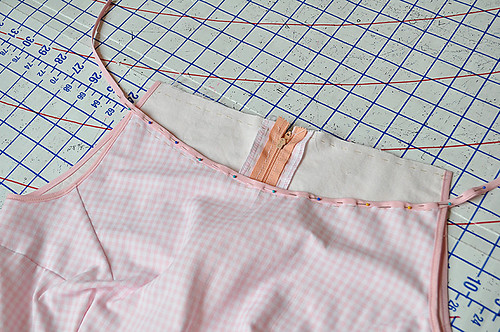
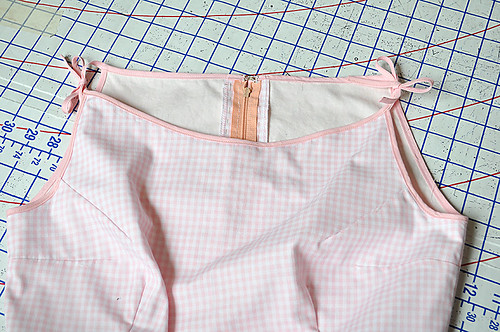
Insert the back zipper. For my dress, I used opted for a handpicked (regular) zipper, as I felt it would blend better into the softness of the gingham. Threads has a great tutorial here. An invisible zipper would work just as well though; a tutorial for inserting an invisible zipper is here. For my zipper I positioned the stoppers 3/4" from the top edge. Just remember to match up the waistline seam carefully!
Now, this is the part of the tutorial where I’m going to warn you my pictures get wonky. In this case, do as I say, not as I do. I completely messed up my steps in construction and did them the opposite way that I had intended. Remember kids: don’t sew on less than 2 hours of sleep—it ain’t pretty!
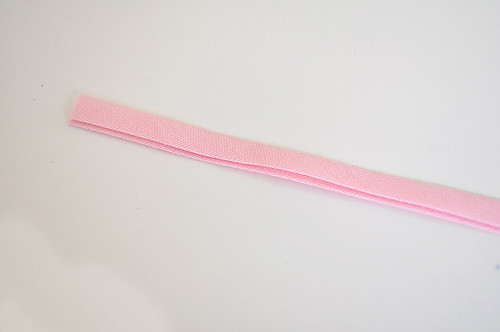
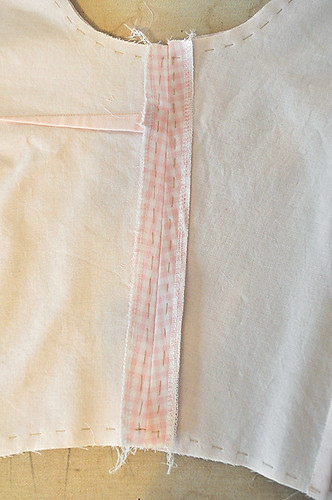
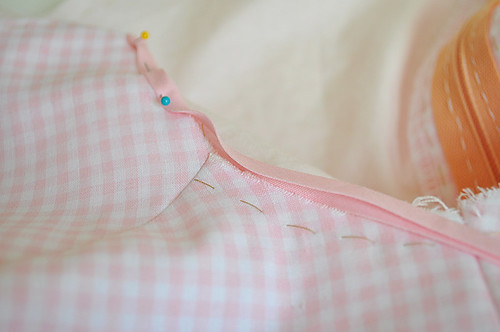
First apply the binding to the neckline. I’m using a double fold bias binding, which makes it really easy to stitch this binding on in one step. Notice the double fold tape’s edges are not even: one edge is folded slightly wider than the other. This edge will be against the wrong side of your dress, while the slightly narrower edge will go on the right side.
Begin by measuring your neckline front and cut a piece of binding this length. Mark the center of the binding length with a pin and match to the center front of the dress. Pin the binding over the raw edge, so that this edge is enclosed between the binding and is in the fold of the binding. Remember the wider/narrower orientation I stated in the above paragraph! Note: the front neckline binding should not be longer than than the neckline! I goofed!
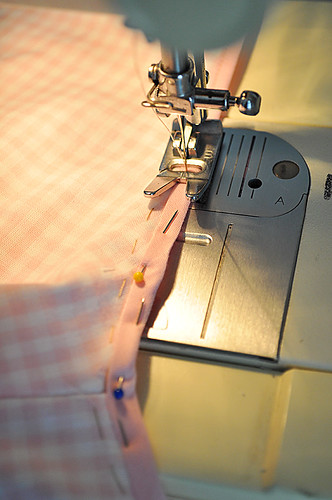
Carefully stitch along the edge of the binding (right side of the dress facing up); about 1/16” away. Go slowly here if you need to! The stitching along the front will catch the back edge of the binding since it’s longer. Which means you’ve bound that neckline all in one step—neat, huh?
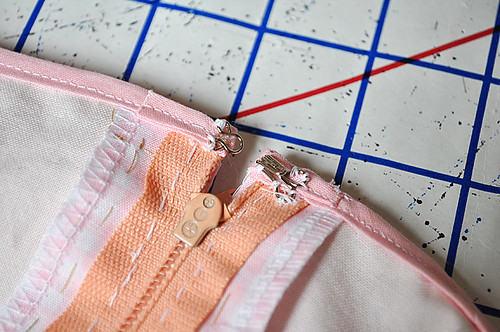
For the back neckline, measure one half of the neckline; add 1”. Cut two pieces of binding this length. Pin starting at the zipper edge, leaving a 1” tail. On the zipper edge, fold the bias binding to the wrong side and turn under a scant 1/4”. Pin in place. This will be stitched down and finished as we stitch the binding on. Stitch binding to both back edges.
Next we’ll bind the armholes and create the shoulder ties. Measure the armhole (front and back) and add 15” to this length. Cut two pieces of bias binding using this measurement. Pin in place around armhole so that 7 1/2” hangs off either shoulder edge.Turn in 1/2” on either end of the ties and pin.
Stitch from tie end, around the armhole, to tie end to encase the raw edge and finish the ties. (Note: if you have trouble stitching at the ends of the ties, use a piece of tracing paper to give the machine something to grab onto so the binding doesn’t get pulled into the feeds and jam the bobbin.)
Press 3/8” under along hem, and then 2” under. Sew the hem either by machine (hemstitch—refer to your machine’s manual—or straight stitch), or hem by hand using a slip stitch.
You can also add a hook and eye to the top edge of the back neckline if you’d like as well.

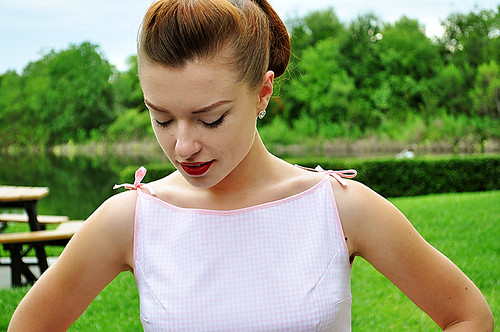
Enjoy your new 50s inspired sundress! Go on a picnic, visit the seaside, or curl up in a hammock with a good book! I’d love to see pictures of your dress if you sew one up!
I also must take a moment to confess that I am currently making another version of this dress! Instead of a gathered skirt, however, I’ve used a pencil skirt pattern I drafted last year and scooped the back neckline a little lower. It’s in a beautiful red linen and will have cream binding along the neckline and armholes—hopefully I’ll finish it over the weekend and have pictures to share!


Comments
Post a Comment
Thank you so much for taking time to comment! I LOVE hearing feedback from readers. I welcome truly constructive and thoughtful critique and suggestions, but will not hesitate to delete spam or downright rude comments.